
Calibrate Guidance Control System
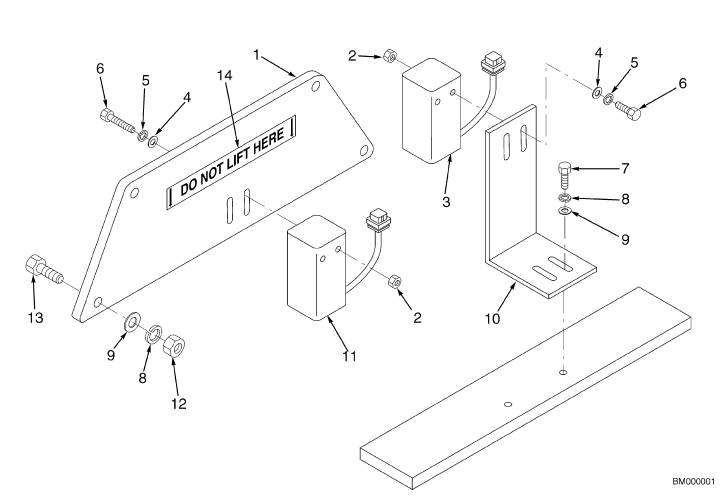
- Verify that the sensors are bolted securely to the truck, centered from side to side in the truck,
and that the bottoms of the sensors are 85.725 ±3.175 mm (3.375 ±0.125 in.) above the floor.
NOTE: It is extremely important that the wire is centered on the front sensor. - Turn the guidance switch to manual. Center truck over a guide wire, an expansion joint, or some sort of straight line you can follow for at least 18 m (60 ft). With the truck centered and the front sensor over the line, slowly travel forward.
Steer carefully to keep the front sensor over the wire at all times. When you have traveled at least 9 m (30 ft), stop and verify that the front sensor is still over the wire. If not, repeat the process until you have traveled 9 m (30 ft) while keeping the front sensor over the wire the entire time. The truck and sensor should be centered within ±3.175 mm (±0.125 in.). - To learn the wire, enter the setup mode and scroll to WG-Setup or WGS-Set.
- Depress the horn switch to exit the menu.
- Turn the guidance switch to the ON position to start the automatic calibration process. The truck will beep during this process of calibration.
- If the calibration process is completed successfully, the display will change to “Success!” Turn the guidance switch OFF and cycle the key switch. Continue to Step 7. If the display changes to Failure, troubleshooting is required (see Troubleshooting section). Turn the guidance switch OFF.
- Following the successful completion:
a. Turn the Wire Guidance switch to ON.
b. Acquire and lock onto the wire in the forward direction and drive the truck forward on the guide wire for a minimum of 30.48 m (100 ft), then turn OFF key.
c. Check to ensure that the wire is centered on the front sensor.
d. Move the rear sensor as needed so that the sensor is centered on the wire.
e. Learn the wire again by repeating Step 3 to Step 6. - Access the setup menu and select the “Dst” (wire distance) from the diagnostic menu.
- Acquire and lock onto the wire.
NOTE: If 91.44 m (300 ft) distance is not available, it is recommended to use the longest length aisle possible. - Drive full speed in the reverse direction for a minimum of 91.44m(300 ft) while observing the wire distance value. The amount of time the value shows in negative should be the same as in positive perceptively, and this is to say that the truck is tracking about the wire. Otherwise, the truck is tracking on one side of the wire. If the truck is tracking on one side of the wire, proceed to the next step.
NOTE: If the rear sensor is moved in one direction and the result is worse than before, the sensor needs to be moved in the other direction. - Move the rear sensor either left or right (recommend 3.175 mm (.125 in.) at a time) and repeat step 10 until the truck is tracking about the wire.
Check Operation of System
- Check to be certain that the truck acquires the guide wire smoothly in both the forward and reverse directions.
- Check to be certain that full travel speed is permitted in both directions when the system is locked onto the guide wire.
- Check to be certain that the truck follows the guide wire while traveling in both directions without going into “slow down” or “shut down” mode.
- Check to be certain that the truck travels on the wire without excessive wandering. The distance from each sensor to the guide wire can be monitored through the display on the “WG Dist” screen. The display will show the side-to-side distance of the sensor from the guide wire in millimeters. Positive numbers for right and negative numbers for left. When traveling forward, the front sensor distance is displayed. When traveling in reverse, the rear sensor distance is displayed. Cycle the key switch to exit the display mode.
- If excessive wandering is encountered, adjust the lead distance “Wgld” or the gain “WgGn.” Lower numbers of lead distance or higher numbers of gain will help to reduce the amount of wandering.
Extreme values may cause “skittishness.” Use the gain adjustments rather than the lead distance if the truck has significant steering friction (rubber drive tire and/or straddle truck).